How to Build a Triangular Pergola

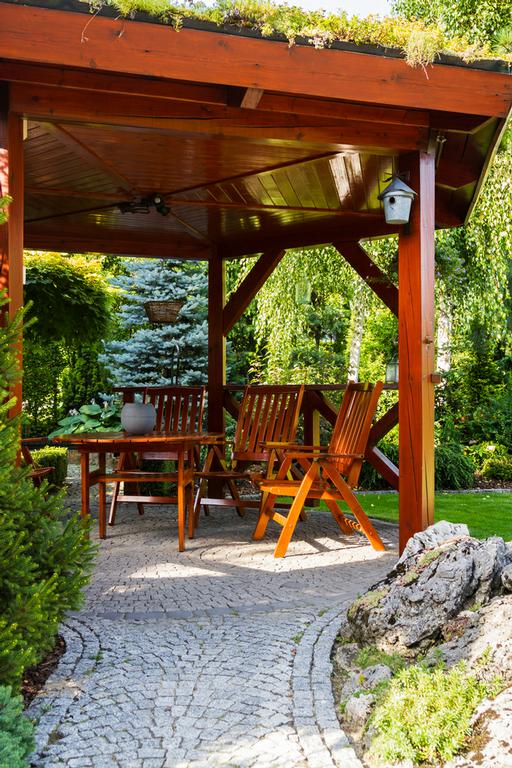
Pergolas help to define patios and outdoor sitting areas by providing a place for climbing plants to grow. Pergolas are typically square or rectangle in shape. However, if you want your pergola to truly stand out and be unique, consider making it in a triangular shape.
What You'll Need:
- (6) 2-inch by 4-inch that are 96-inches
- (3) 4 by 4 post that are 72-inches
- (2) 48-inch by 96-inch latticework panels
- Miter saw
- Box of 3-inch coated deck screws
- Screw gun
- Measuring tape
- Pencil
- Sawhorses
- Jigsaw
- Hammer
- Finish nails
- Trowel
- Climbing plants
- You’ll need to cut a 45-degree angle using a miter saw on each end of the six 2-by-4s. The 45-degree angles will allow each of the boards to form an equilateral triangle. You can place three of the boards together in order to form an equilateral triangle; this will serve as the roof of the pergola. Connect the boards together using a screw gun and 3-inch coated deck screws. Construct and fasten the other three boards in the same manner. The next equilateral triangle will be considered the leg support frame for the pergola.
- Move the pergola roof into a work area. Put one of the 72-inch posts on an inner corner of the roof. Ensure that the corner of the post fits flush against the inside corner of the roof. Connect the post to the roof by screwing them through the roof boards into the post. You can use a screw gun and 3-inch deck screws to complete this step. Repeat these steps for each of the other posts in the other two corners of the pergola; they will serve as the legs of the pergola.
- Raise the leg support frame and put it over the three legs of the pergola. You’ll need to allow it to slide down and rest against the roof. Use measuring tape to measure up 24-inches from the bottom of the roof on each of the legs; you’ll need to mark these measurements. Then lift the leg support frame and put it at the height of the pencil marks. Connect the leg support frame to the legs using a screw gun and 3-inch coated deck screws. Screw each of them from the outside of the leg support frame into the legs. You’ll need two screws per joint to complete this step.
- Place the two latticework panels on a work surface so that they are touching. If done correctly, it should form one large latticework surface. Raise the pergola, still upside down, and put it on the latticework panels and center it so that the triangular outline of the roof fits all the way on the latticework. Create a line along the outline of the roof with a pencil. You can remove the pergola off of the latticework panels and put them on sawhorses. You can use a jigsaw to cut along the lines you drew. If done correctly, you’ll now have two latticework panels that connect to make a triangle the size of the roof.
- Put the pergola on its side and align the two latticework panels up against the roof. Ensure that the panels are flush with the sides of the roof and use a hammer as well as finish nails to secure the panels to the roof. You’ll need to space the nails every 2-inches to 3-inches.
- Turn the pergola upright and slide it to the location in the yard where you would like it to be placed. Make a place for the plants on two of the sides of the pergola and plant climbing plants on the two sides per the plants' planting instructions.