How to Plumb a Shower Drain: A Step-by-Step Guide for Homeowners
Ever wonder why your shower drain leaks or smells? Drain might be one of the smallest features in your bathroom, yet it handles one of the biggest jobs. A properly installed shower drain does more than carry water away. It keeps your bathroom clean, prevents water damage, and stops odors from creeping up through the pipes.
Everything starts with the installation. It’s very important to have a correctly installed drain, as it ensures water flows smoothly, stops leaks, and keeps unpleasant odors from entering your bathroom. You might want to take the easy way and skip some steps during installation, but you'll end up with bigger problems later.
If you want to learn how to plumb a shower drain, our step-by-step guide can walk you through the process. We’ve made the instructions simple and easy to follow, even for those who have never used plumbing tools before.
Understanding How a Shower Drain Works
Shower drains carry wastewater from your shower into the plumbing system. Drain pipes are installed with a slight slope so that gravity can carry water away freely.
Under the drain is a trap, a curved section of pipe that always holds some water. This water prevents sewer smells from coming up into your bathroom.
The drain's performance depends directly on proper alignment and a good seal. If the drain isn’t aligned or properly sealed, water can leak, back up, or cause damage over time.
Key Parts of a Shower Drain System
Before you start, let’s learn about the main parts of a shower drain. Each piece has a job to do, and understanding them makes installation easier.
- Drain flange: The part you see on the shower floor. It holds the drain cover and connects to the pipes underneath.
- P-trap: A curved section of pipe that keeps a small amount of water to block sewer odors.
- Drain pipe: Carries water from the shower to your home’s plumbing system.
- Waterproofing membrane: A layer under the floor that keeps water from leaking into the subfloor and walls.
Tools and Materials Needed to Plumb a Shower Drain
It’s time to get ready with all the tools and materials you’ll need. Double-check that everything matches your drain setup, so you don’t run into surprises halfway through.
Tools
- PVC cutter for cutting pipes cleanly.
- Level for proper sloping of your drain and pipes.
- Measuring tape for accurate cuts and placement.
- Adjustable wrench for tightening nuts and connections.
Materials
- Shower drain kit. Includes the flange, drain cover, and connecting parts that connect the shower floor to the plumbing below.
- PVC or ABS pipes. These carry water away from the shower. The type you need depends on what your home already uses.
- Primer and cement. Used together to bond the pipes tightly, creating strong, leak-free connections that won’t come apart over time.
Types of Shower Drains and Choosing the Right One
Shower drains may look similar, but they work differently. The right choice depends on your shower layout, floor design, and plumbing. Some are easy to install, while others offer a cleaner look but need more planning. Ensure your drain matches your shower floor and waterproofing system to avoid drainage issues later.
Common Shower Drain Types
- Point drains. These standard round or square drains are placed in the center of the shower. They’re affordable, easy to find, and simple to install. The downside is that the floor needs to slope from all sides, which can make tile work trickier.
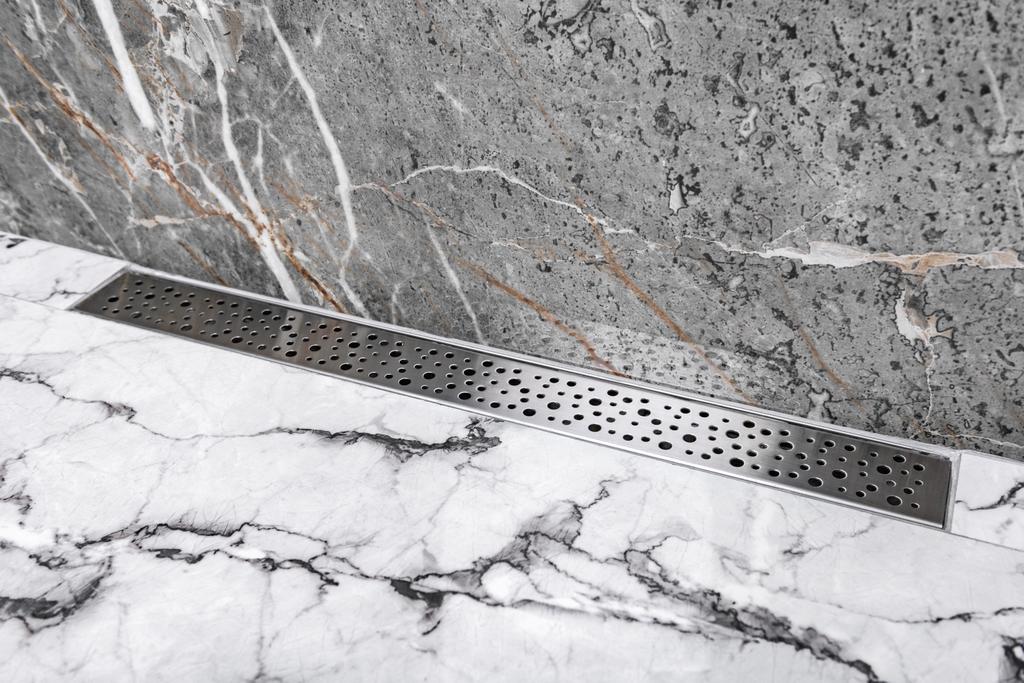
- Linear drains. A long type of drain, installed along a wall or edge. Linear drains create a clean, modern look and work well with large tiles. However, they cost more and require careful planning.
- Compression drains. These reliable drains are designed for shower pans with liners. They offer a tight seal but are mainly suited for traditional shower setups.
How to Plumb a Shower Drain Step by Step
Step 1 – Preparing the Shower Base and Drain Location
Before you install the shower drain, make sure the base is ready. Measure accurately and pick the drain location. Check whether the floor slopes slightly toward the drain so water flows freely. A proper slope is usually about 1/4 inch per foot. Double-check everything is level and angled correctly before moving on. Taking time here will make the rest of your job much easier.
Step 2 – Installing the P-Trap
Next, install the P-trap. Even though this curved pipe is small, it’s essential for keeping sewer smells out. Place the P-trap so that it lines up perfectly with the drain and the drain pipe. See if the joints are snug and sealed. Getting this step right keeps your shower running seamlessly and your bathroom smelling good.
Step 3 – Connecting the Drain Pipe
Before gluing anything, dry-fit the drain pipe. Just put the pieces together without glue to make sure everything lines up perfectly. The pipe should be straight and fit with the P-trap and drain. If everything looks right, apply primer and cement to secure the joints. Proper fitting now prevents leaks later.
Step 4 – Securing the Drain Flange and Waterproofing
Now, focus on waterproofing. Make sure the drain flange is secured and sealed so no water can escape underneath. Apply the waterproofing membrane or sealant around the flange to create a watertight barrier. Check if everything sits flat and snug. A proper seal keeps water flowing into the drain and protects your walls and subfloor from damage over time.
Step 5 – Testing the Drain System
Before closing the floor, test your drain system for leaks. Run water through the shower and watch every connection carefully. Look for any leaks around the flange, P-trap, or pipes. See if the water flows easily down the drain without backing up. Fix anything that looks off before finishing the floor to avoid bigger problems later.
Common Mistakes to Avoid When Plumbing a Shower Drain
Even small mistakes can cause big problems with your shower drain. Watch out for these common errors:
- Incorrect drain slope. If the floor isn’t angled toward the drain, water can pool or drain slowly. Check the slope carefully.
- Forgetting waterproofing. Skipping the waterproof seal around the flange can cause leaks and damage under the shower.
- Misaligned pipes. Pipes that don’t line up correctly can leak or clog. Always dry-fit before gluing.
- Skipping testing. Don’t wait until the floor is finished. Pour water and watch for leaks so you can fix problems right away.
Avoiding these mistakes will make your shower drain last longer and keep the bathroom dry.
DIY vs. Hiring a Professional Plumber
So, you still can’t decide whether to DIY your shower drain or call a pro? Here’s what you need to know before making a choice.
If your shower setup is simple, you can try installing the drain yourself. Just take your time and follow the steps carefully. On the other hand, if you have weird layouts, hidden pipes, or tricky waterproofing, don’t hesitate to call a professional plumber. Remember, a poor installation can lead to costly consequences.
Signs You Should Call a Pro
Not every shower drain installation is a DIY project. Sometimes expert help is unavoidable. Call a professional if you run into any of the following situations.
Persistent leaks. If water keeps seeping despite your best efforts, a plumber can find the hidden cause.
Code compliance. Certain plumbing rules must be followed, especially in rentals or new builds.
Concrete floor remodels. Plumbing through concrete slabs is complicated and best handled by a professional.
Cost Considerations and Time Estimates
Let’s talk money and time. If you do the shower drain plumbing yourself, you’ll mainly pay for parts. A basic drain kit, including pipes and fittings, usually costs $40 to $120. The work can take anywhere from 30 minutes to a couple of hours, depending on your experience and how smoothly everything fits.
Hiring a professional costs more, usually between $250 and $800 for a full install. A professional plumber works quickly and makes sure the drain is installed correctly, so you won’t have to worry about leaks. DIY can save money, but a pro can save time and stress.
Installing a Shower Drain: What You Should Know

A well-installed shower drain makes your bathroom clean and fresh. It keeps water flowing, prevents leaks, and stops odors from sneaking up through the pipes.
Learning how to plumb a shower drain is all about planning. Take your time with each step. Check the slope, line up the pipes, and ensure everything is sealed tight.
Don’t forget to test the system before closing the floor. A little patience now will save time, money, and frustration later, whether you DIY or hire a professional.